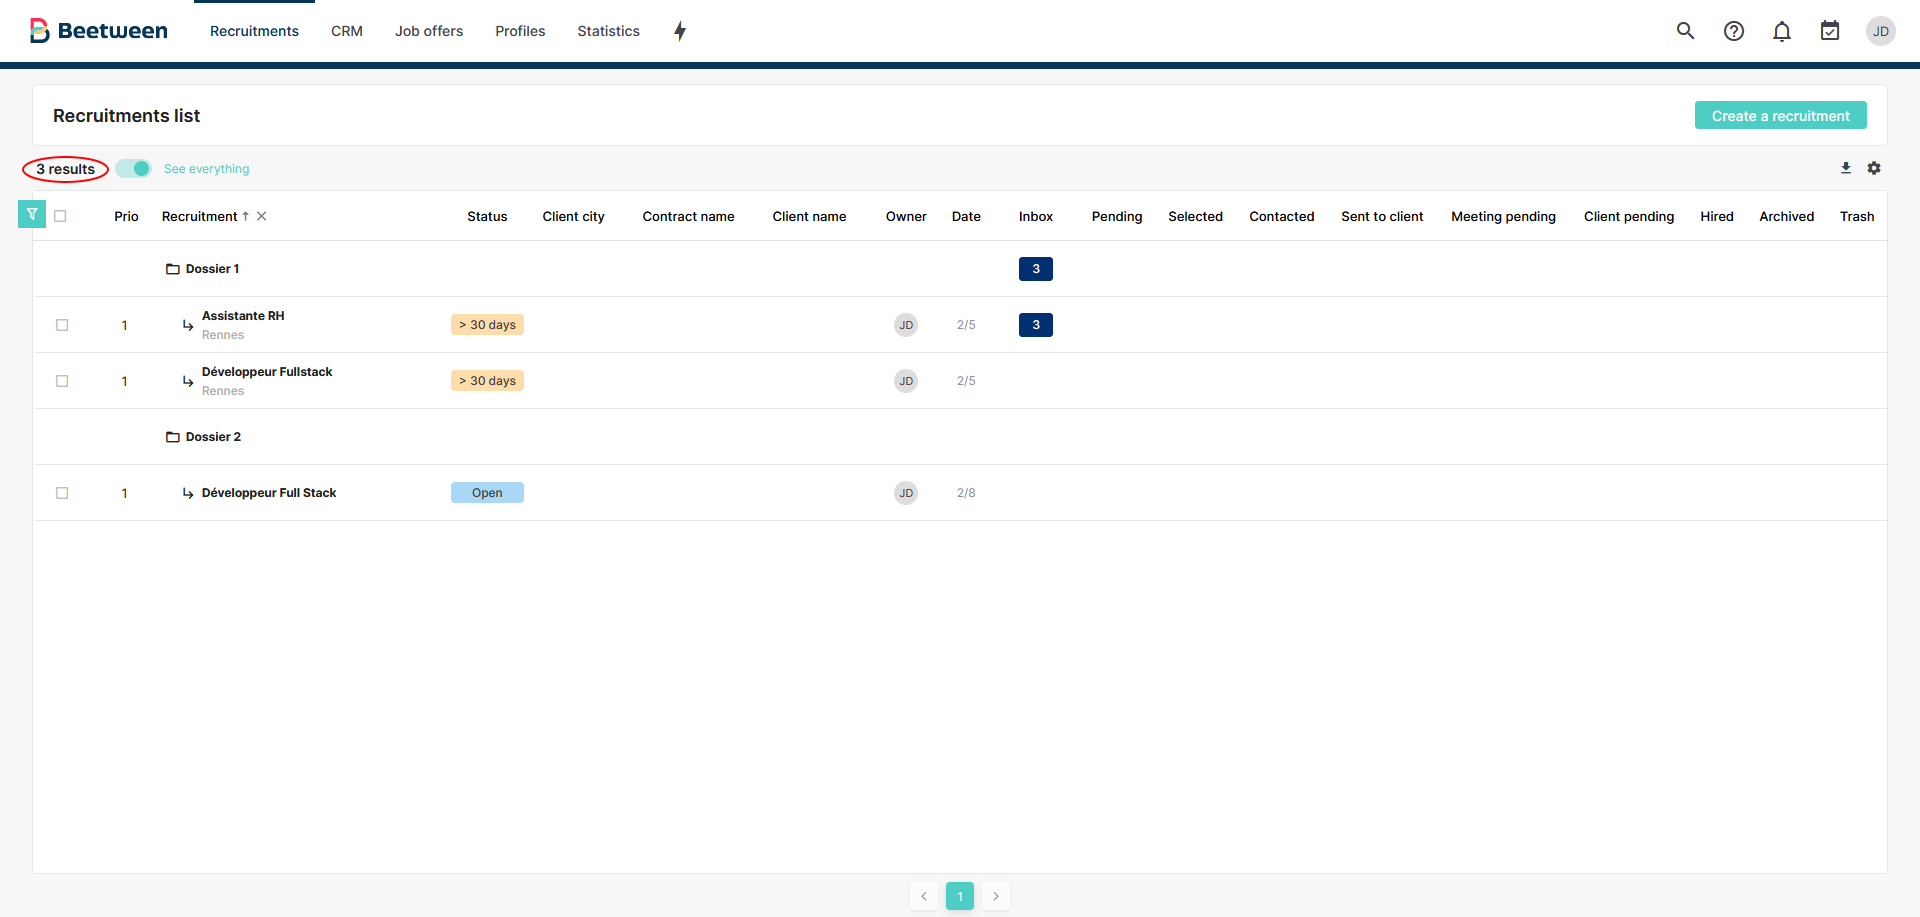
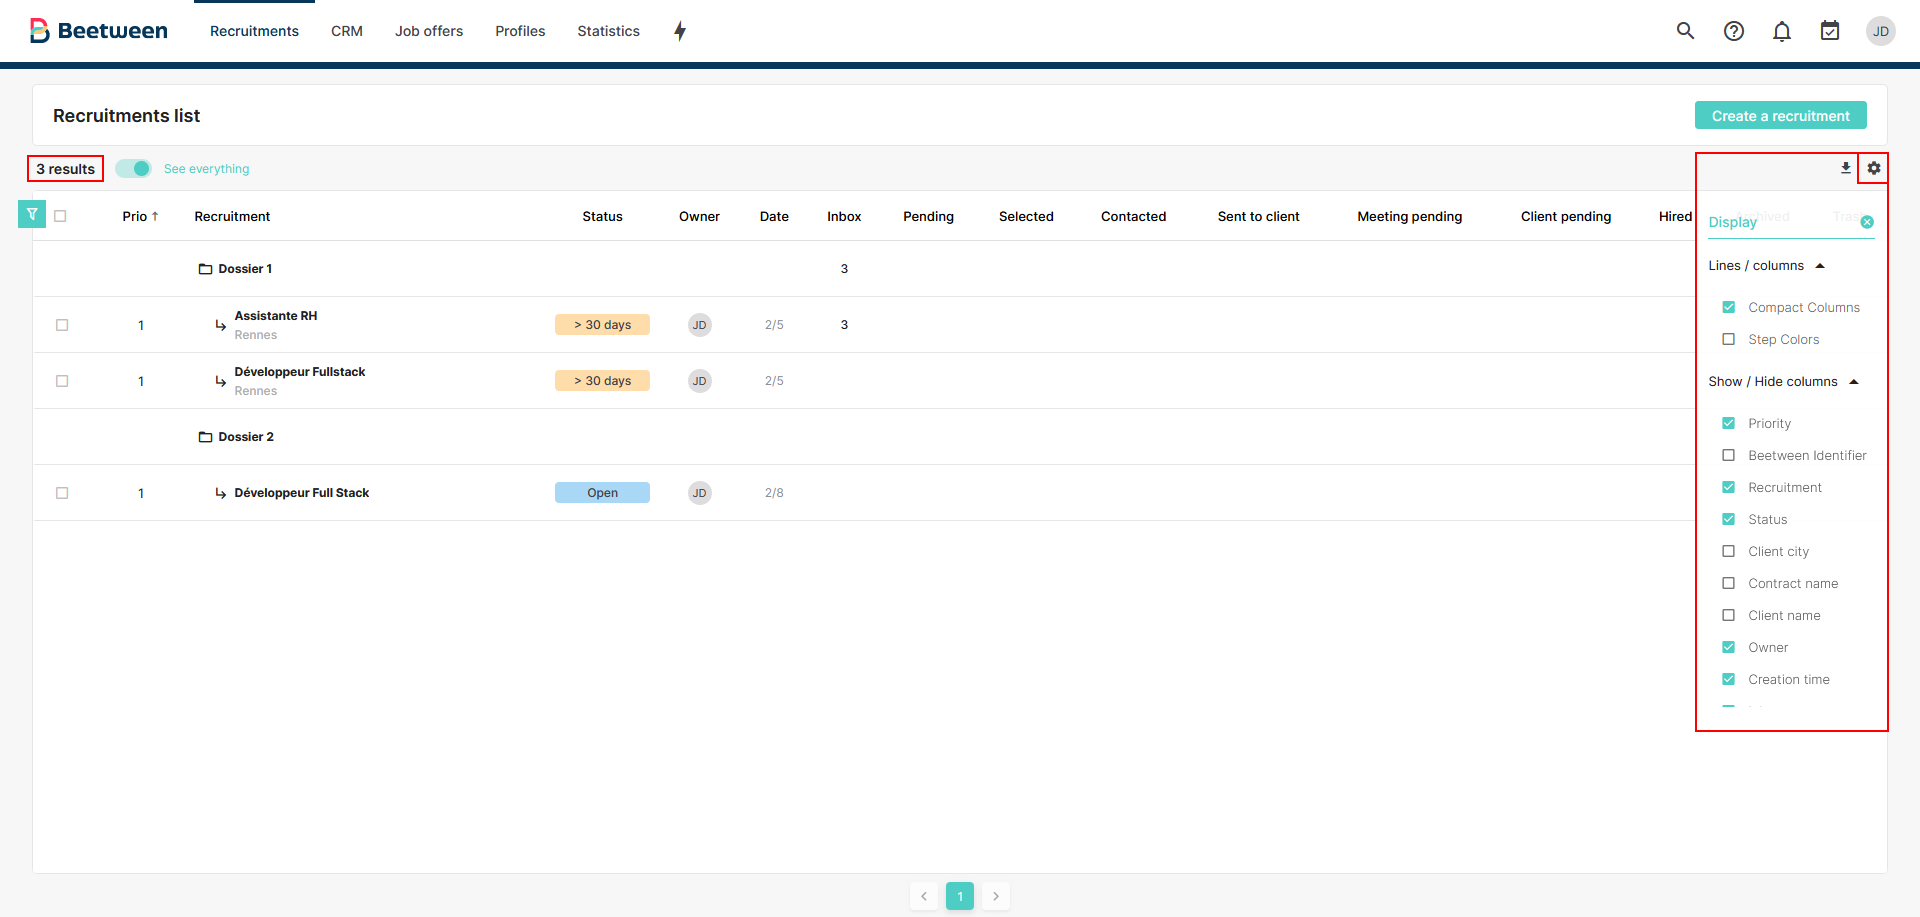
The recruitment table enables you to find all your recruitment files and requests for recruitment authorization.
The recruitment table also allows you to see at a glance the number of candidates present in your recruitments. In this article, we'll show you what the elements of this table are, and how to customize them.
Page header
In the top left-hand corner, you'll find the number of recruitments in which you are participating, or if you have a Company Admin license, the number of recruitments for your company. This number changes according to the filters applied.
You'll find job offer indicators ("To be corrected", "Rejected", "Pending", "Published"...) on the "Advertisements" page, accessible from the header.
Recruitment table
When you select recruitment files using the checkboxes to the left of the file rows, multiple action buttons appear at the top of the table, next to the number of items you have selected.
You can also change the priority of a file by clicking on the number representing the priority: a drop-down list then appears.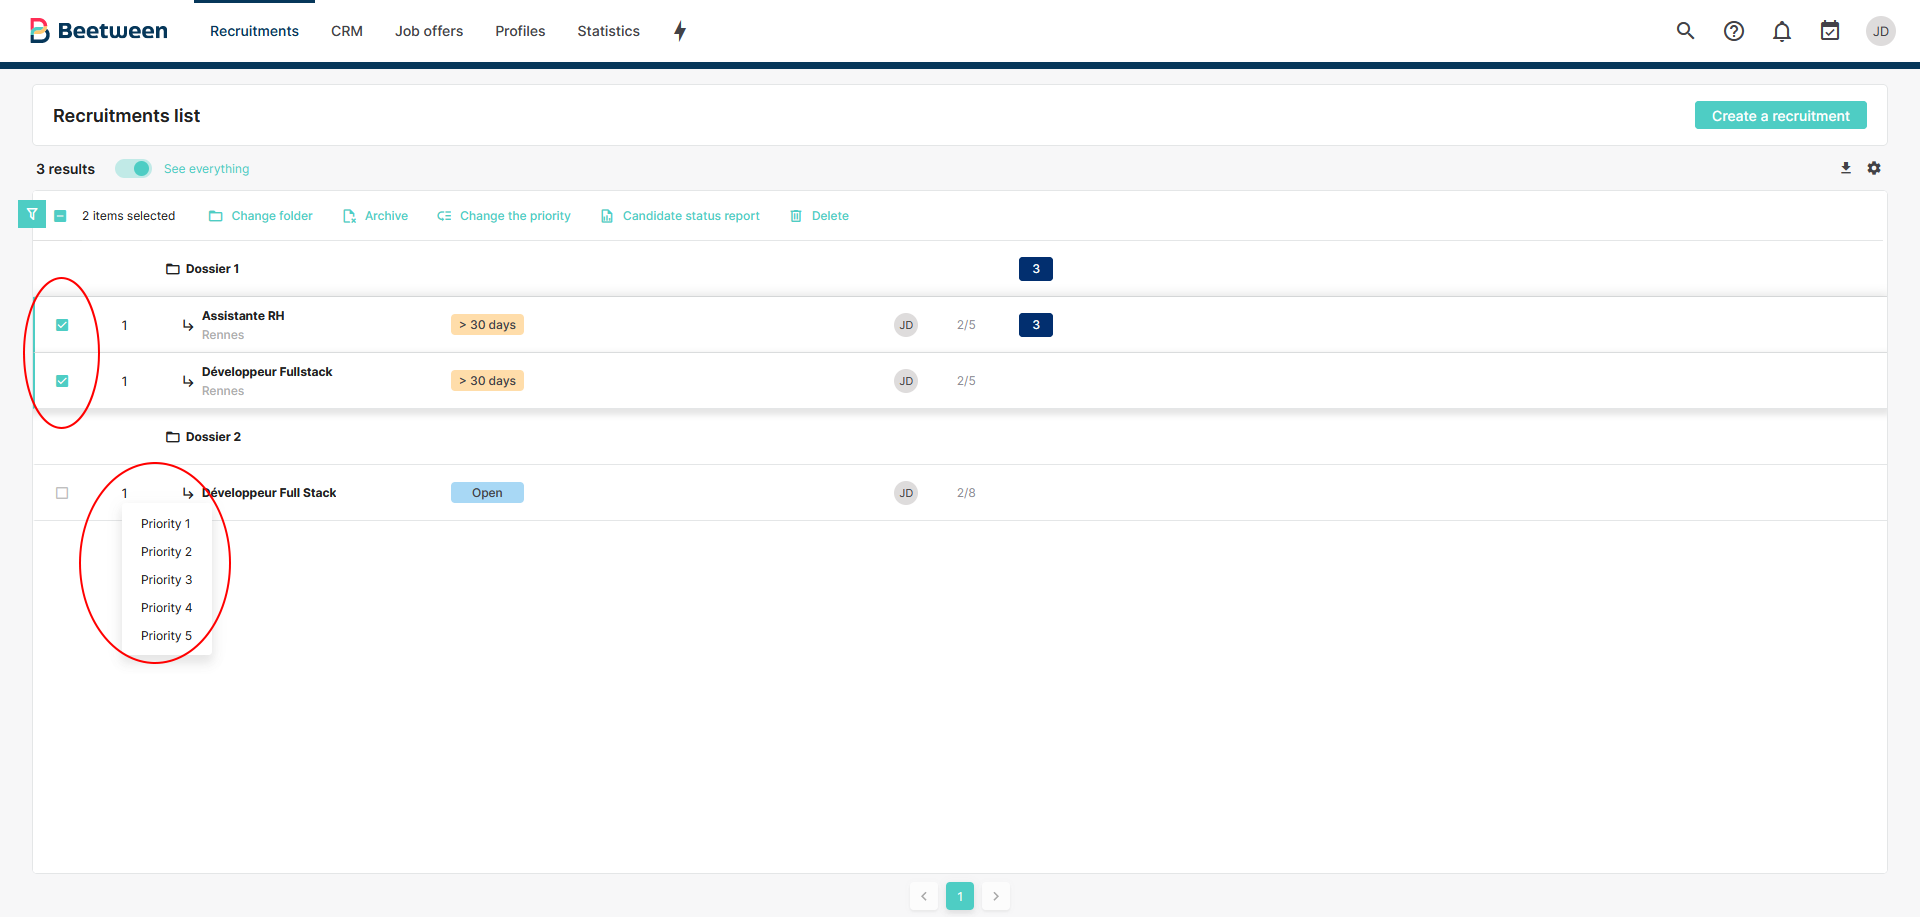
- 🟢 Offer published less than 30 days ago or Open recruitment (no offer): default color green
- 🟠 Offer published more than 30 days ago: default color orange
- 🔴 Offline or unpublished offer: default color red
- ⚪ Archived recruitment: default, light gray color
- 🔵 Recruitment authorization request: default, blue color
- ⚫ Multiple offers in the same recruitment folder ("Multi"): default, dark gray color
👉 To access the "Recruitment authorization request" functionality, you need a specific configuration. When a recruitment authorization request is displayed in your table, it is not the number of candidates that is displayed, but its status ("In the process of being created", "Pending validation...").
To find out more about recruitment authorization request, click here.
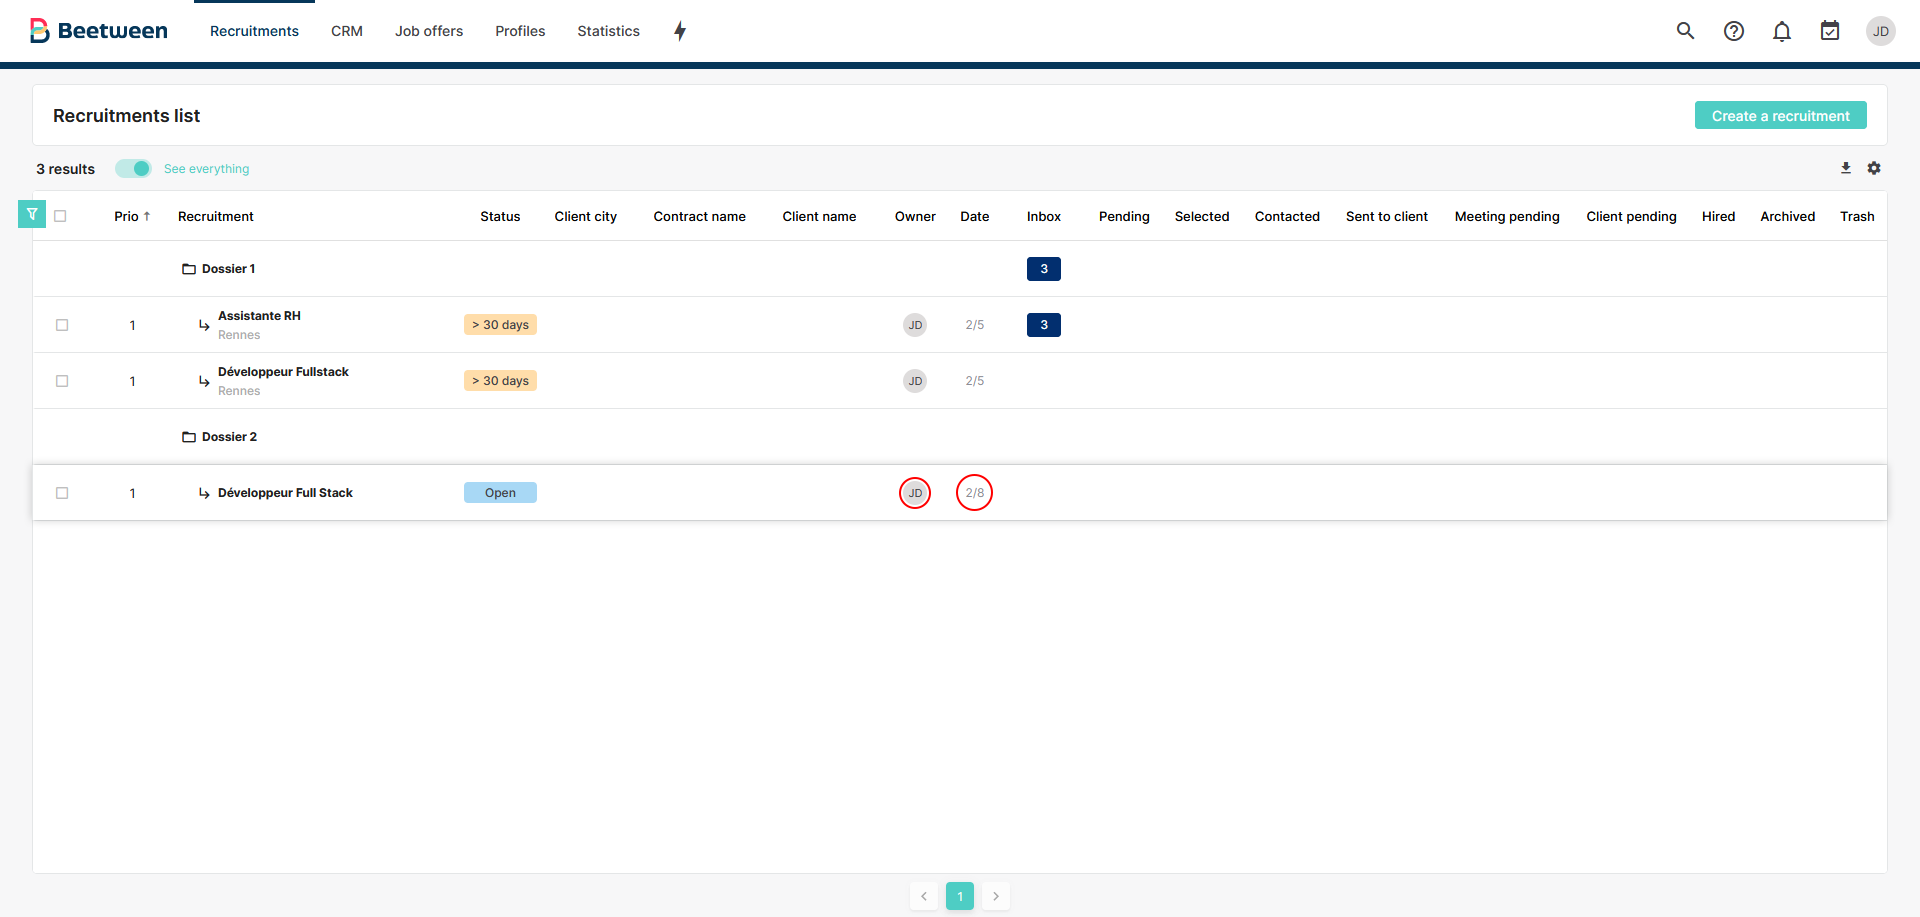
The names of the owners of recruitment files or authorization requests are displayed as initials. To see the names in full, hover your mouse over them.
Dates of creation of recruitment files or authorization requests are displayed in Day/Month format - for items created in the current year, otherwise the year of creation is displayed. You can display the entire date by hovering over it with your mouse.
💡 When you move your mouse over the line corresponding to a recruitment or validation request, a drop shadow is displayed below it to help you find your way around the table.
In the line of a recruitment file, the number of candidates it contains can be displayed on a colored background that changes when you hover the mouse over it. Colored backgrounds are not displayed by default, but must be activated in the display parameters. This feature only concerns the number of candidates.
Finally, you can find the pagination below the table.
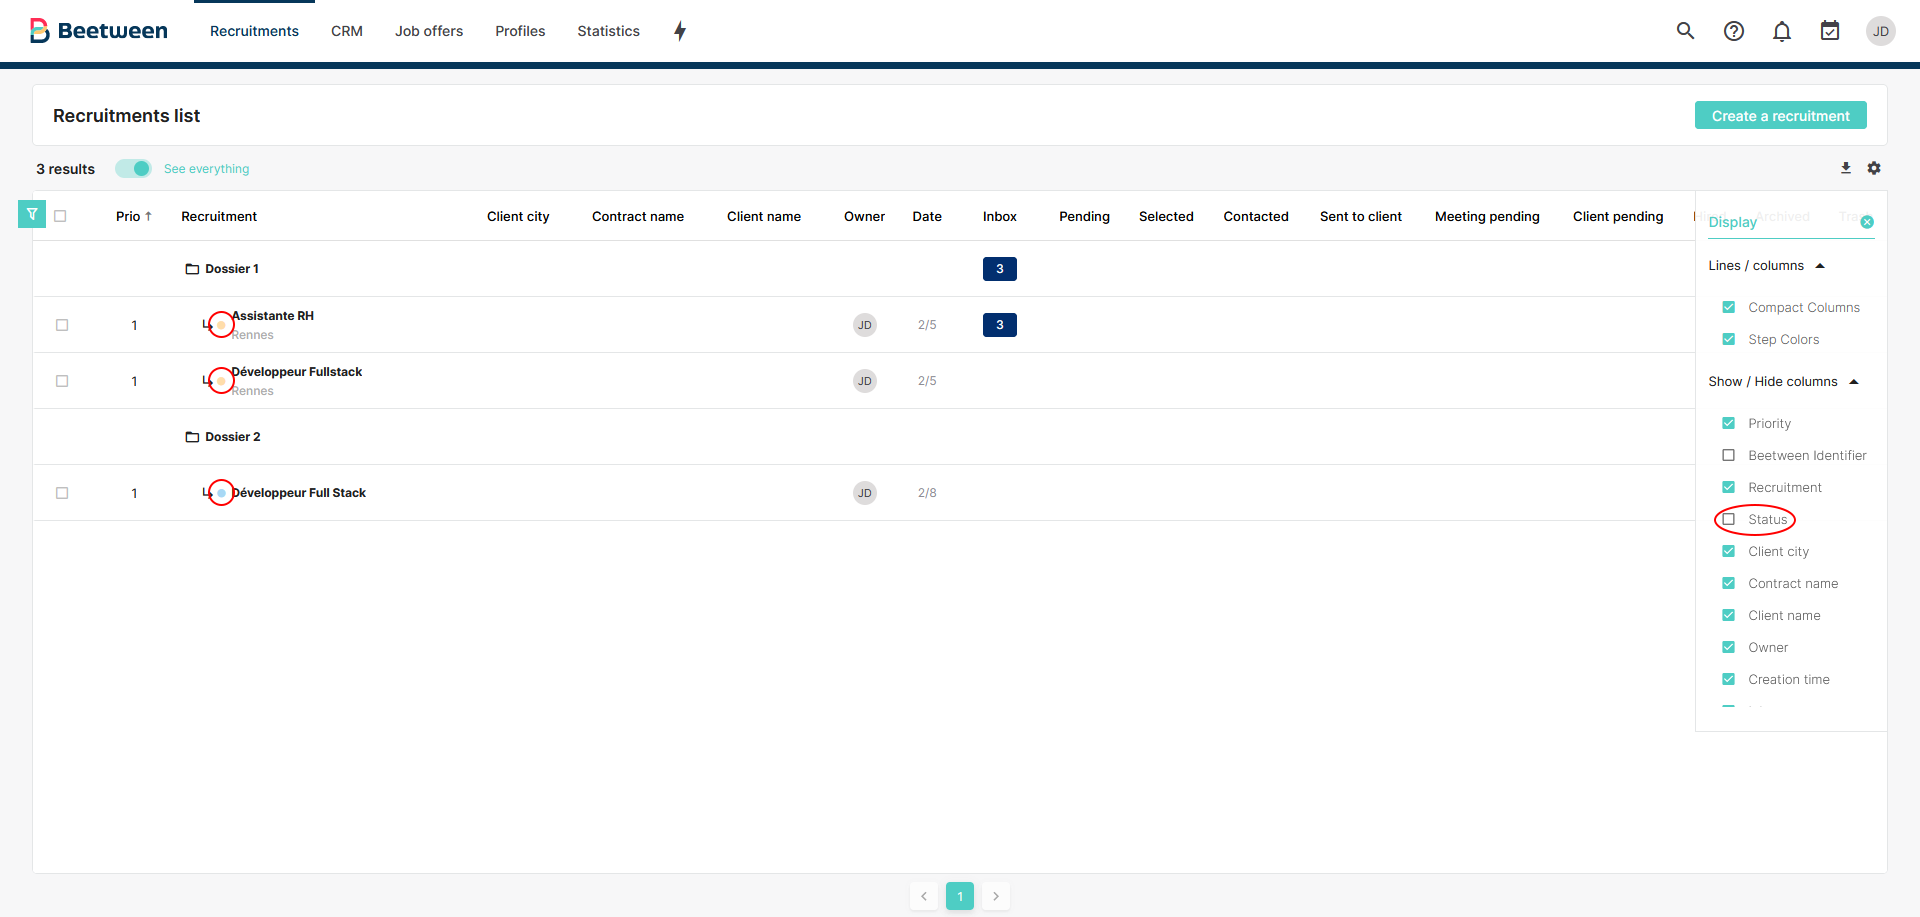
Customize table display
You can customize the display of the table by clicking on the cogwheel ("⚙️") in the top right-hand corner. The various options are as follows:
- Compact rows/columns;
- Show step colors (mentioned above);
- Show or hide columns of your choice.
You can choose the number of results displayed per page (5, 10, 20, 50 or 100) by clicking on them, or on the number of "Results per page" at the top right of the table.
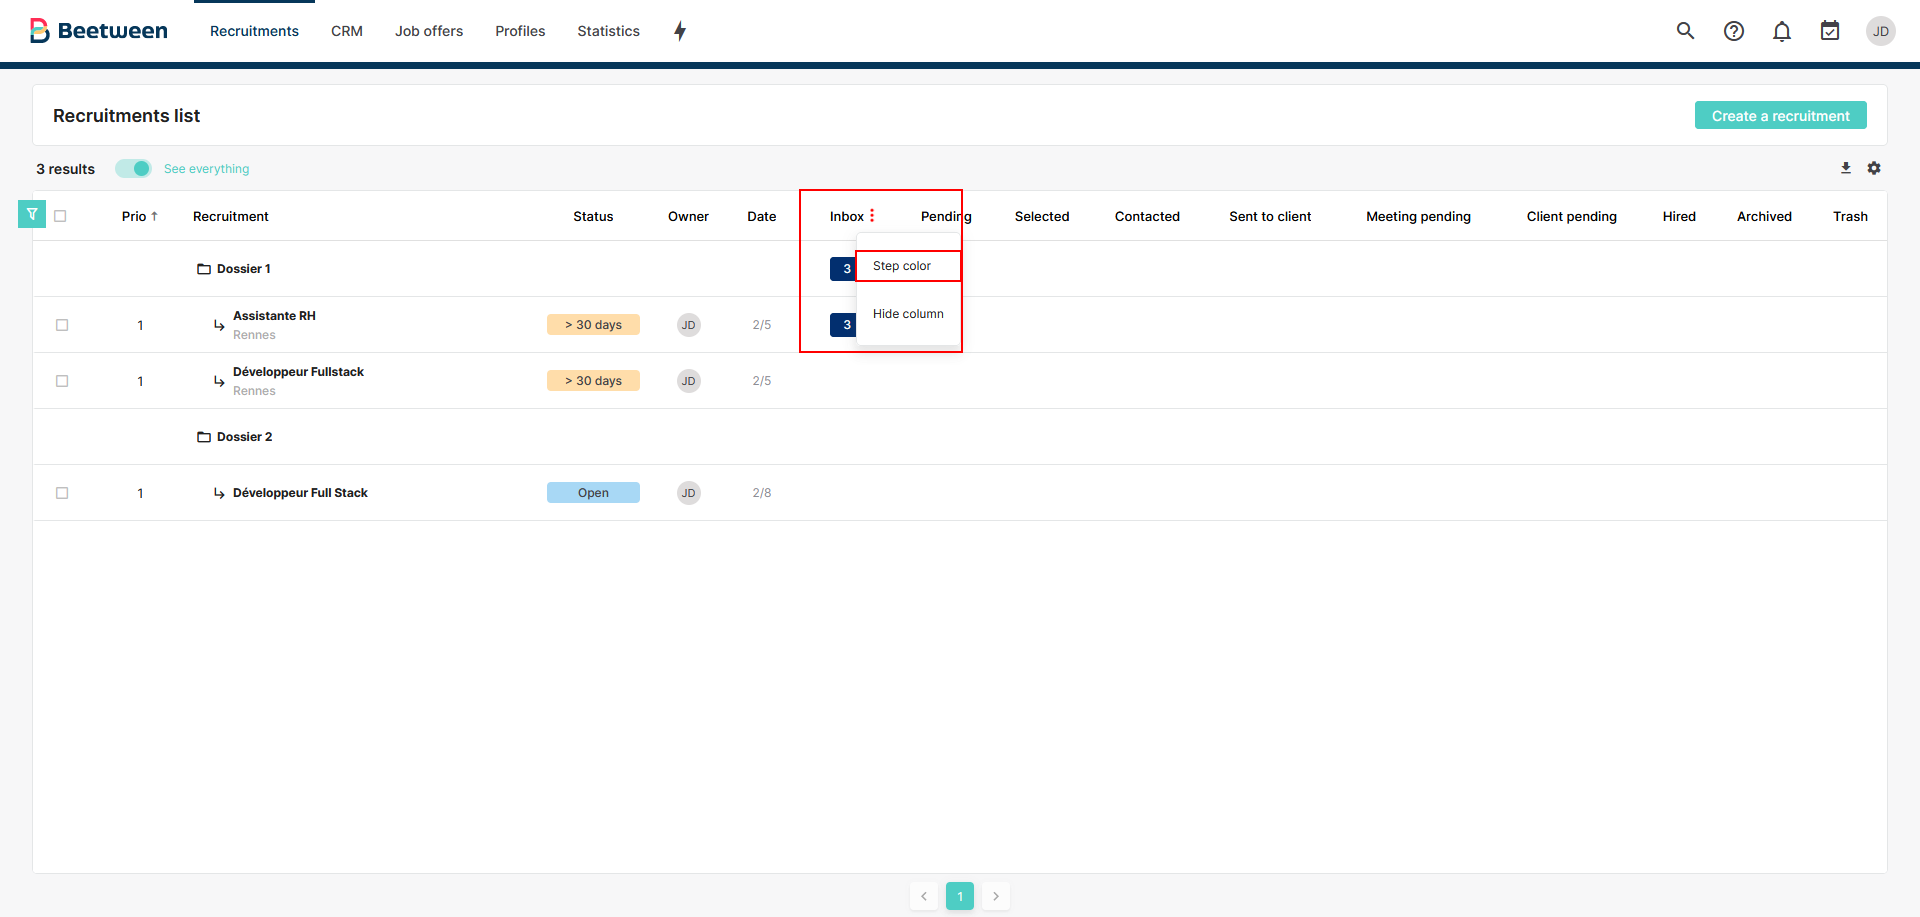
You can also customize the display of your table by clicking on the menus (3 vertical dots) that appear when you hover your mouse over the name of each column. Depending on the column concerned, you can :
- Sort values in ascending order (for the "Priority", "Recruitment", "Owner" and "Date" columns);
- Sort values in descending order (for the "Priority", "Recruitment", "Owner" and "Date" columns);
- Change background color (for columns displaying the number of applicants, a pop-up window appears, allowing you to choose a new color);
- Hide the column concerned (for all columns, if you wish to display them again, click on the ⚙️ presented above).
Use table filters
The filter icon (a funnel) is located at the top left of the table. When one or more filters are active, a small colored dot is added to this icon. You can filter recruitment files and authorization requests in the following ways:
- Search for a recruitment by name, owner, location, access rights or agency if applicable (but also customer name, contract name or customer city if CSM);
- Filter recruitment files or authorization requests by status;
- Use your favorite filters.
By clicking on the "Reset" button, you deselect any filters you may have previously selected, and return to your original table.
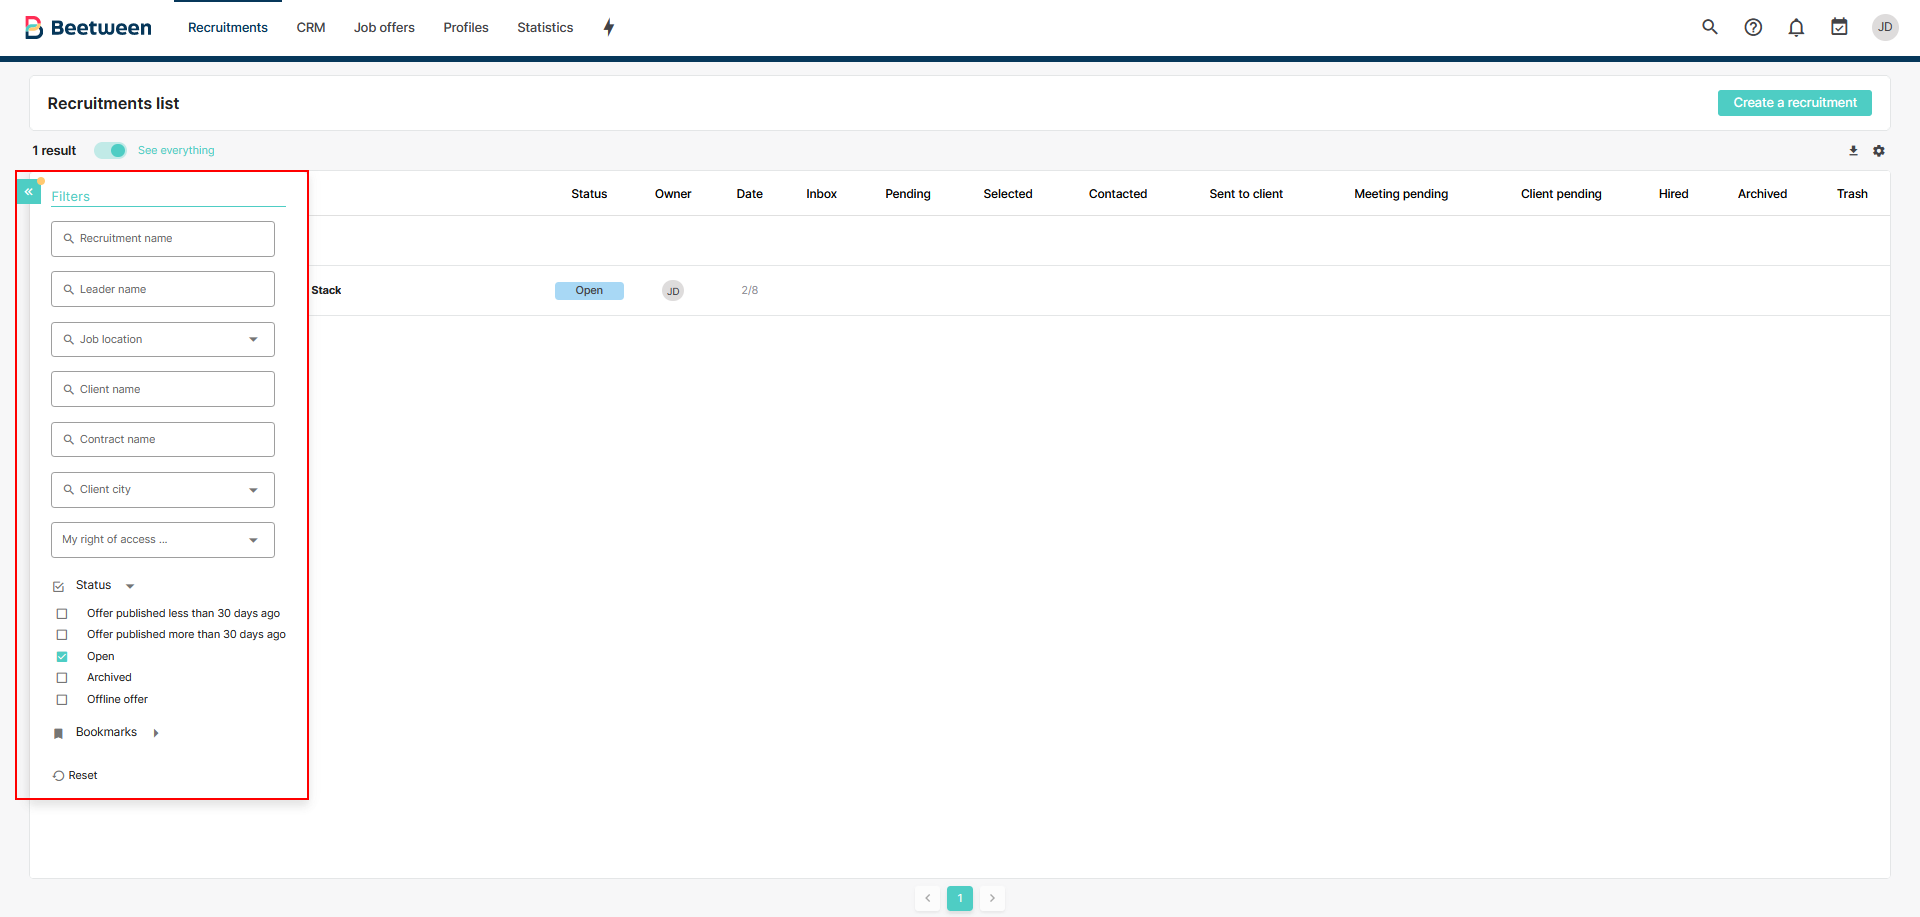
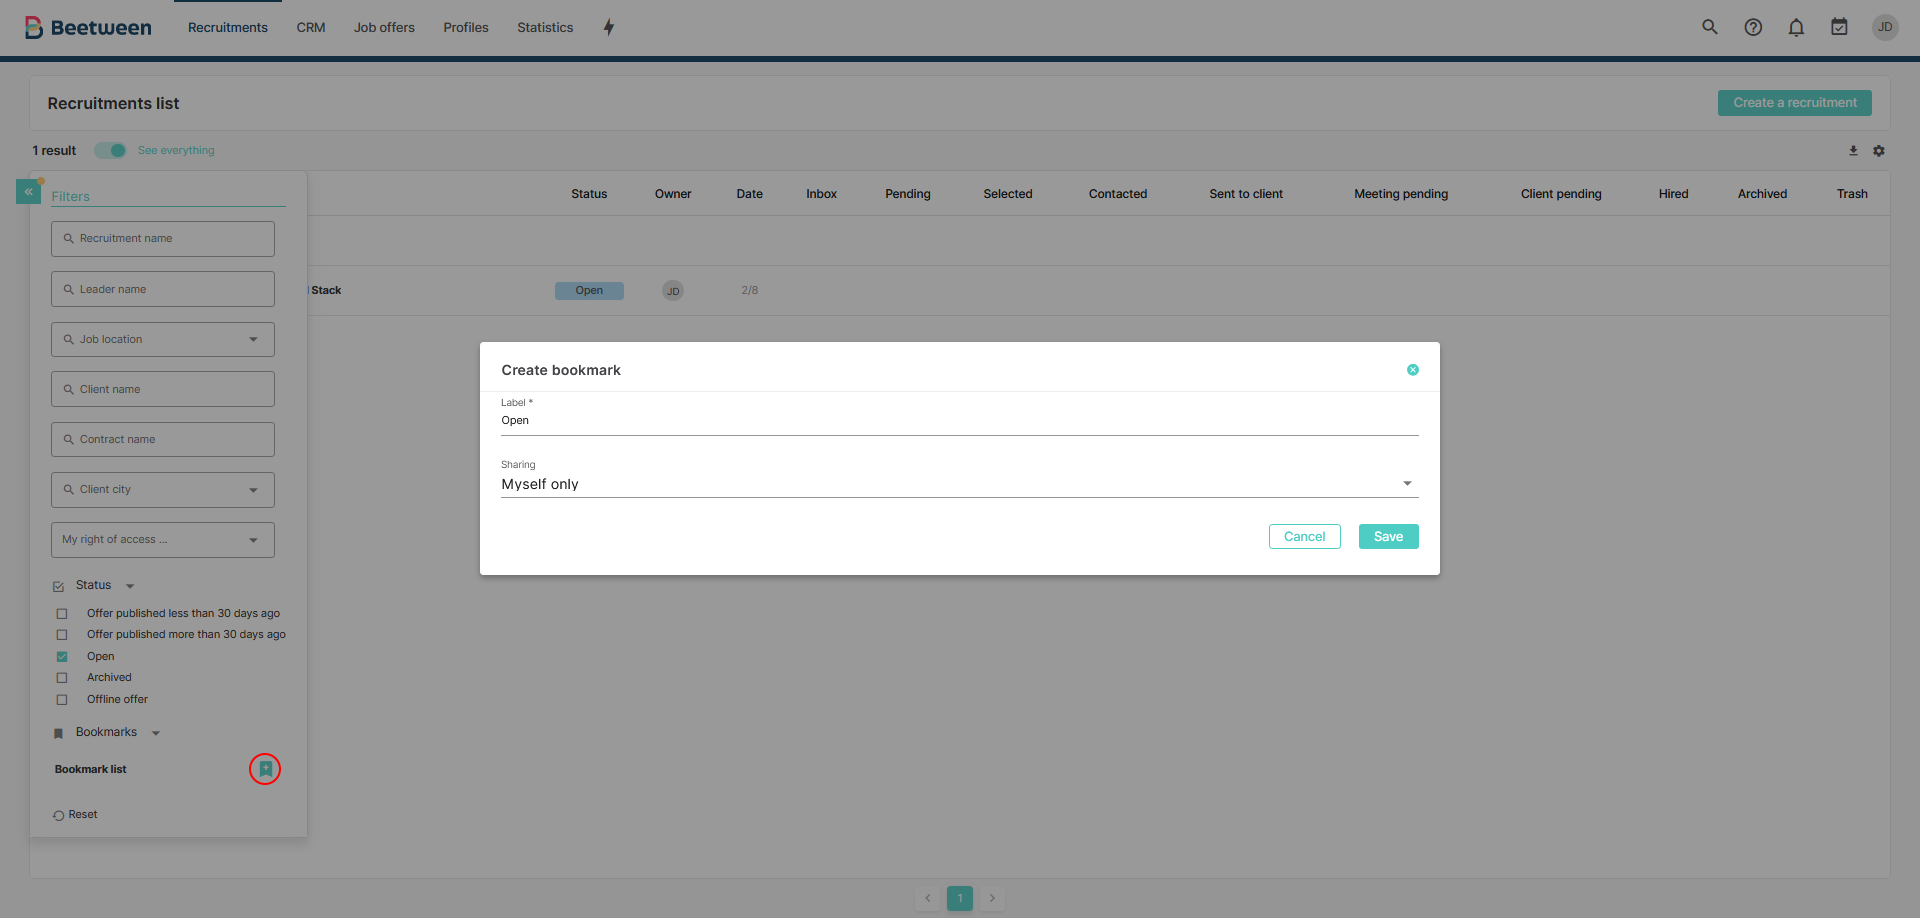
To create a favorite filter, simply select the relevant criteria and click on the bookmark icon ("🔖") in the "Favorites" category of the filters menu.
A pop-up allowing you to create a favorite is then displayed, and you can give it a name to make it easier to find, and choose who to share it with (just you, your agency if applicable, or your company). All that's left to do is save it; you can modify, rename or delete it at a later date if you wish.
You can set the view that appears when your favorite filter is activated to become your default view of the recruitment table: to do this, simply click on the little star ("⭐") next to the filter's name.
💡 Your favorites are just a click away, thanks to the "⚡" button in your software's header.
Export your recruitment table
By clicking on the icon just to the left of the cogwheel giving access to the table display parameters (at the top right of the table), you can download all the table columns and their corresponding values in .csv format.
⚠️ If a filter is activated, it will be applied to the downloaded file.
Sharing mass recruitment
Would you like to share several recruitments at the same time, even across an entire group or agency? Now you can!
To do this, select the relevant recruitments in your table, and choose "Share" from the multiple actions. A pop-up window will then appear, allowing you to choose :
-
To which scope you wish to share the selected recruitments (User, Group or Agency);
-
To which user, group or agency you wish to share them;
-
The rights you wish to assign to your selection (Read-only, Stakeholder or Administrator).
Once you've set up your share, simply click on "Create" to share your recruitments.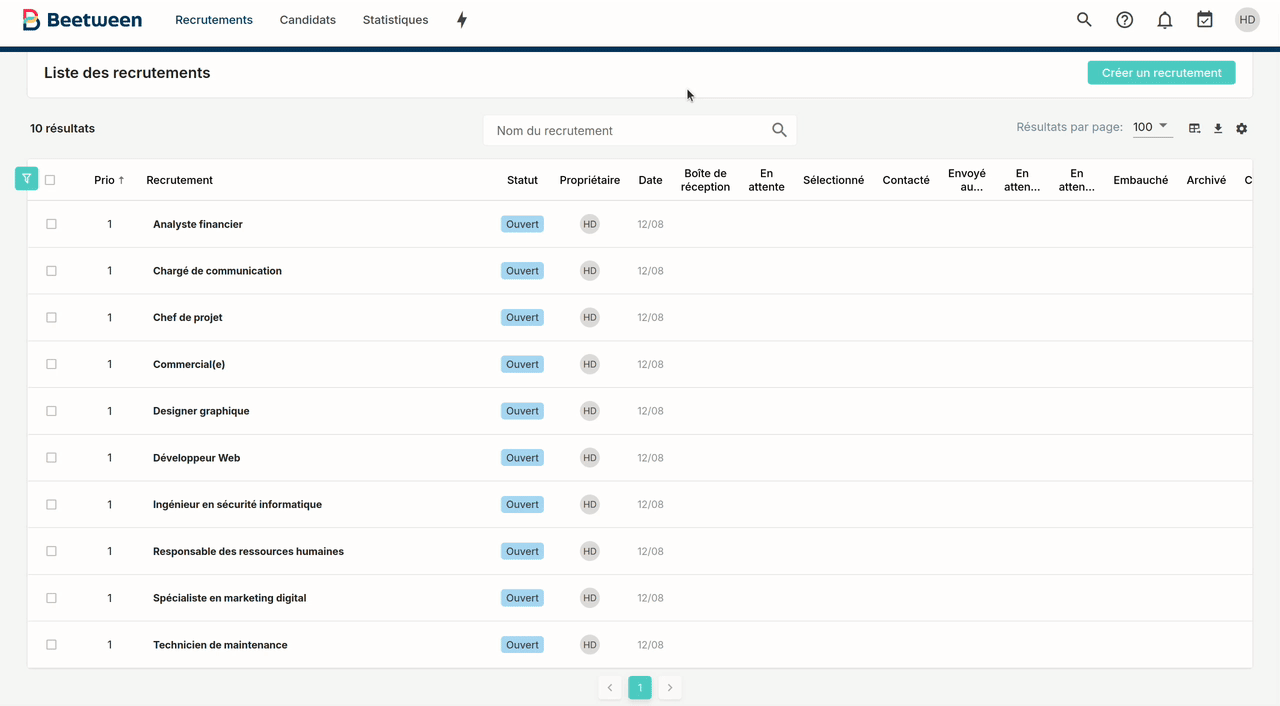
Want to share all your recruitments at once? You'll find a rectangular icon in the top right-hand corner of your recruitment table. Simply click on it to share all your recruitments in a single action.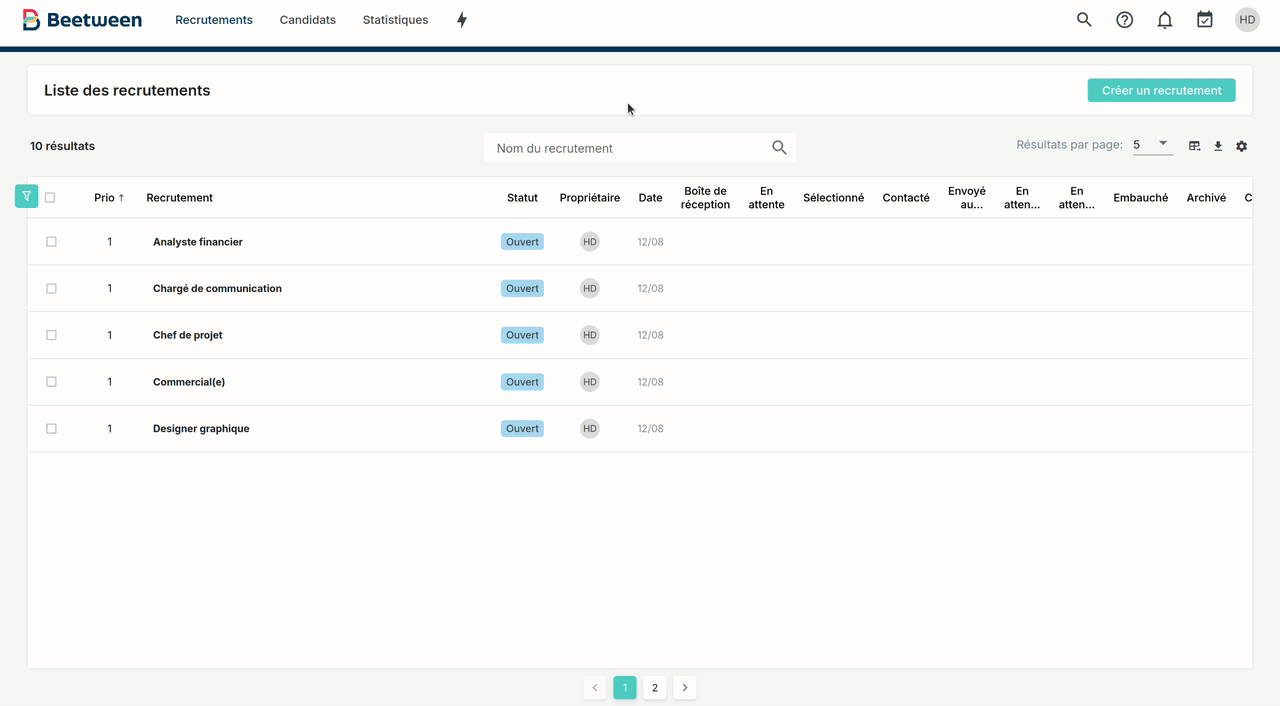
⚠️ If you select recruitments for which you do not have sharing rights, the other recruitments you have selected will be shared, and an error message listing the recruitments that could not be shared will be displayed.
It is not possible to share recruitment authorization requests (RRs) in this way, so an error message will also be displayed.
When you make your selection in the recruitment table, the names of the selected recruitments are displayed progressively at the top of the table, allowing you to remove them with one click if you wish. This means you can easily change the display to search for other recruitments, while still having quick access to your existing selection.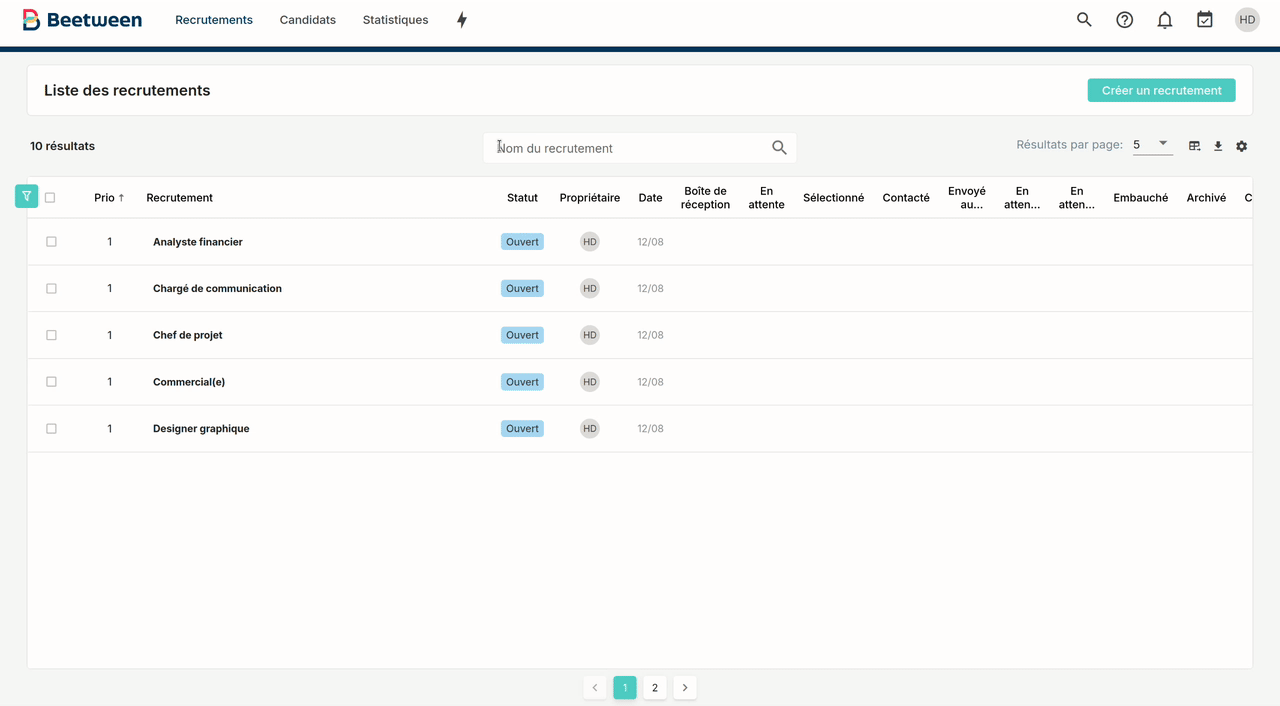
💡 Beyond 10 selected recruitments, a link displaying "+[the number of additional recruitments selected]" appears at the end of the line: you can click on it to display the list of recruitments concerned and manage them.
You can select up to 100 recruitments for sharing.